


Winter is just around the corner, and this is an excellent time of year to perform home maintenance projects. A good place to start is with your HVAC system. If you are like most people who live in this area, you depend on your HVAC system to keep your home comfortable throughout the year. You use it for both heating and cooling and expect it to perform flawlessly at all times. To maintain reliability and operate at peak efficiency, though, HVAC systems require proper maintenance. Having said that, the following tips will help you to get your HVAC system ready for winter.
Check The Thermostat
To make sure that your HVAC system operates properly for both heating and cooling, you should test your thermostat in both directions. Start by switching the thermostat to heat, and select a temperature slightly above that of the room. At that point, you should be able to hear and feel the heat turn on. Then switch your thermostat to the off position, and give your system a few minutes for the pressure to equalize.
After that, switch your thermostat to cool, and select a temperature slightly below that of the room. You should now be able to hear and feel your AC turn on. Finally, switch the fan from “auto” to “on” and listen for the fan to turn on. If the thermostat fails to perform as expected, the problem could be a bad thermostat, faulty wiring or a defective control board.
Replace The Air Filter
New air filters do a wonderful job of providing clean, fresh air that is free of dust, pollen and other contaminants. As filters trap particulates, though, the filters become clogged and begin to restrict air flow, which degrades the efficiency of the unit and makes it work harder. This can cause a reduction in the life of your equipment as well as a noticeable increase in your utility bills. Because of that, you should replace your air filters at least twice per year and even more often if you live in a dusty environment or one that has a high pollen count.
Most units have a single air filter located in the return air duct near the blower or behind a filter grille located in the ceiling or in a wall. As you are installing the filter, look for an arrow on the filter that indicates the correct direction of air flow so that you know which way to face the filter. If your unit has an electrostatic air filter, it does not have to be replaced. You can remove it, take it outside, wash it down with a garden hose and put it back in its original position.
Check The Condensate Drain Line
HVAC equipment uses a sealed refrigerant system that generates moisture as a byproduct in the same way that a refrigerator does. Just like a refrigerator has a drip pan under it, HVAC systems also use a drip pan along with a condensate drain line that routes the water from the drain pan to an outdoor location. It is important to make sure that the drain line is clear so that water does not build up in the drain pan and overflow.
If you discover that your HVAC’s drain line is clogged, you might be able to clear it by pouring a small amount of vinegar into the line. If that doesn’t work, you will have to use a plumbing snake or pressurized air. Some systems also include a drain line monitor that will shut off the HVAC system if the drain line becomes clogged. If your system does not have a drain line monitor, you may want to think about installing one or having one installed.
Inspect The Furnace Chimney
Perform a thorough inspection of the furnace chimney, and make sure that it is clean and free of obstructions. Watch for vermin that might have decided to adopt the chimney as their home. Also look for birds and bird nests. Make sure that your chimney does not have an excessive amount of soot buildup. If it does, you will have to clean it or have it cleaned. Also watch for any damage caused by corrosion. Finally, if your chimney has a liner, inspect that as well. One thing you can do to ensure that a defective chimney doesn’t lead to carbon monoxide poisoning is to install carbon monoxide detectors. They are reasonably priced and available at most home repair stores.
Clean The Furnace Heater Burners
Check the furnace heater burners, and make sure they are free of dust and debris. If they are dirty, you will need to clean them. Otherwise, your furnace heater will not work properly. To clean the burners, the first thing you should do is disconnect the power. Then you will need to remove the furnace doors to locate the burners. If they are encapsulated in a burner box, you may need some tools to open the box. Next, remove the burners, place them on newspaper or other scrap material, and clean them with a brass brush. You can also use compressed air to blow away any fine particles. Replace the burners, and reconnect the power to complete the process.
Clean And Inspect The Heat Exchanger Coils
Home HVAC systems use two heat exchanger coils: an evaporator coil and a condenser coil. The evaporator coil is typically located indoors next to the air handling equipment. It could be in a closet or in the attic. The condenser coil is typically located in an outdoor unit. Both of these coils need to be kept clean in order for your HVAC equipment to operate efficiently.
Start by using a brush to remove any dirt and debris. Then wash the coils. You can try a home detergent, but you may need to buy a special detergent made just for that purpose if the coils are extremely dirty. For the outdoor condenser coil, you might be able to get by with removing the cover and hosing down the coils. While you are cleaning the coils, inspect them for rust and holes. If any of the coils have holes, they will have to be repaired or replaced to keep gas from escaping.
Check the Pilot Light
Modern furnaces use an electronic ignition system instead of a pilot light. If you have an older furnace, though, you will need to check the pilot light because the furnace will not turn on if the pilot light is out. Begin by removing the panel that covers the burners. You might need a screwdriver or other tools for this step. Once the panel is removed, you should see a small blue flame next to the burners. If not, you will need to relight the pilot as described below.
Relight the Pilot Light If Necessary
Look for a knob that has three settings: off, on and pilot. Turn the knob to off, and wait about three minutes. Then turn the knob to pilot. Now depress the knob, and light the pilot with a long-reach butane lighter. Once the pilot has been lighted, turn the knob to the on position. If you are unable to light the pilot, your pilot system may be defective or there may be a problem with your fuel supply. In either case, you will probably need the help of a professional HVAC technician.
Also note the color of the pilot flame. It should be mostly blue. If it is more red, yellow or green than it is blue, it may not be burning cleanly. In that case, you will probably need to arrange for a repair.
Lubricate All Moving Parts
Moving parts need to be lubricated to prevent wear. That is one reason you have your automobile serviced on a regular basis. The same thing is true for HVAC systems. The parts of an HVAC system that require lubrication include the blower motor, condenser motor, fan and belt pulleys. While you are performing this step, also check the belts to make sure they are not frayed, stretched or slipping. Additionally, you should check the fins on the blower motor wheel to see if they have accumulated excess dust. If they have, you can clean them with a brush. When performing lubrication, though, keep in mind that some new blower motors are permanently sealed and do not need to be lubricated.
Check All Electrical Connections
You should check all electrical connections on both your inside and outside units. For safety purposes, be sure to disconnect the power before performing this step. Look for any bare or broken wires as well as broken connectors. Also look for signs of corrosion or arcing. On outside units, it is not unusual to find wires that have had their insulation chewed off by rodents or control wires that have been damaged by string trimmers. If you find a rodent nest inside the unit, you should remove it and clean out the compartment. Finish by checking the electrical connections on the inside units, including the AC air handler and the heater.
Check the Integrity of the Ductwork
Check all of the ductwork throughout your home to make sure that it is properly sealed and insulated. You may have to go into the attic to reach some of it. Inspect the exterior of the ductwork for holes, rust and separated seams. Make sure that all of the ductwork is covered with an adequate layer of insulation. Remove some grills, and use a flashlight to inspect the interior of the ductwork. Look for dust, debris and rust. If your ductwork is faulty, you should repair it as soon as possible or have it repaired because much of your HVAC’s conditioned air is probably being wasted.
Check for Adequate Return Air
You can also check to see if your HVAC system has adequate return air by performing the following procedure. First close all interior and exterior doors. Now go through your house room by room, and crack one door open at a time. With the air handler on, observe whether the door moves noticeably. If it does, this may be an indication that your return air system is inadequate, in which case you may need to make some modifications. One common and inexpensive way to increase return air flow is to install grates in doors or walls to allow air to flow from one room to another.
Measure the Temperature Differential
To make sure your system is operating properly, you should check the temperature differential between the supply and return ducts. While you can buy sophisticated equipment to perform this step, you can also do it with a simple food thermometer. Look for an access point in your supply duct, and measure the temperature once the system has been running for about 15 to 20 minutes. Then do the same thing in the return duct. You should see a difference of about 15 to 20 degrees in the two readings. Anything less than that might indicate that your system isn’t operating properly. You can perform a similar test by comparing the temperature of air coming out of a room supply duct with the room’s ambient temperature.
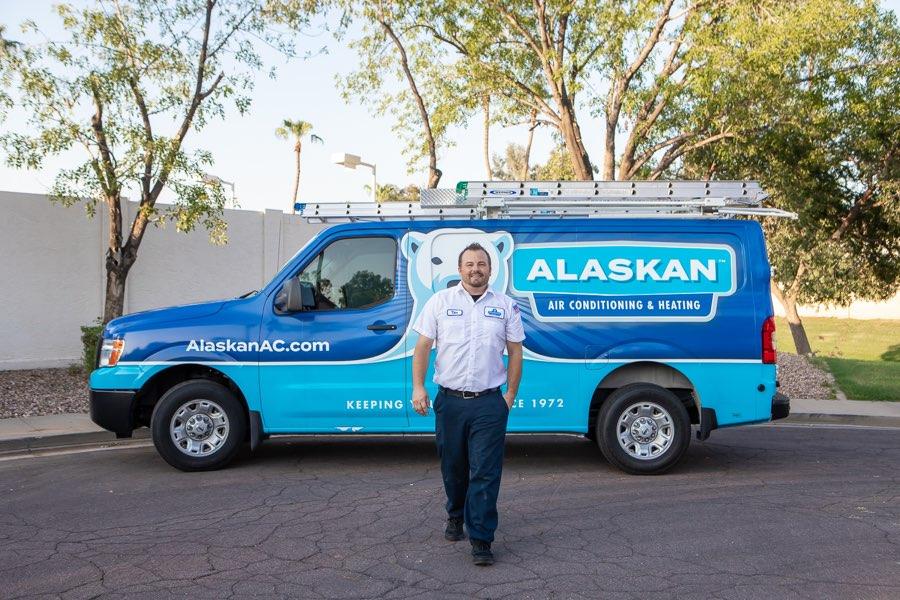
Call a Professional To Check Your HVAC System
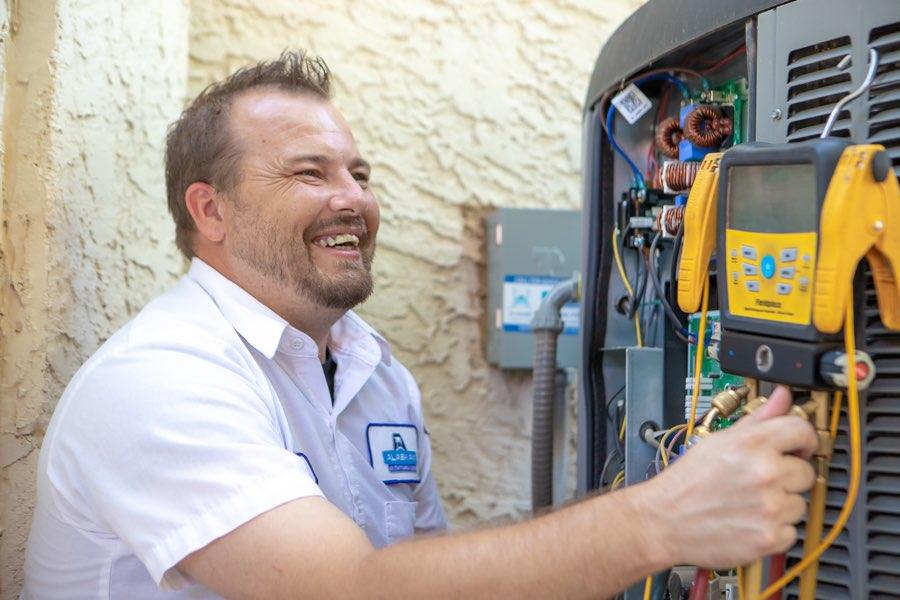
While the most avid and highly skilled DIY person might be able to safely perform the maintenance tasks listed above, most homeowners will need to enlist the services of a professional HVAC technician. Alaskan Air Conditioning and Heating has been serving the Phoenix and Tucson areas for more than [alaskan_years_in_business] years. We are fully licensed and insured, and our technicians go through an extensive training program as well as a thorough background check. We can perform all of the maintenance required to get your HVAC system ready for winter. We are also experts when it comes to HVAC repair and installation. Contact us today, and we will be happy to schedule an appointment or to answer any questions that you might have.